
Campaigner’s email wizard is unusually linear. You pick a template, edit the HTML, edit the plain text version, then fill in the email details, in that order. A Campaigner countdown timer goes in at the second step, through an HTML element, and one nice thing about Campaigner is that the canvas shows the real countdown as soon as you apply the code rather than a grey placeholder.
This guide adds an Alterable countdown timer that way, then covers the two Campaigner-specific details: the plain text step that a timer can’t appear in, and where a merge field goes if the deadline should differ per recipient.
Step 1: Create the timer in Alterable
-
Open the Alterable countdown timer page and pick a starting point: one of the templates, or Start from scratch.
-
Under Counts down to, pick a type. A date is one deadline for everyone. Time after opening starts each recipient’s own window when the email is sent. A date in the link reads the deadline from a contact field in the image URL.
-
Set the deadline and its timezone, then match the fonts and colours to your template.
-
Click Create and copy the embed. It’s a link wrapped around an image. Before you copy it, choose Campaigner under Email platform, and Alterable writes Campaigner’s merge fields into it for you:
<a href="https://next.alterable.com/countdown-timers/click/YOUR-TIMER-ID">
    <img src="https://next.alterable.com/countdown-timers/YOUR-TIMER-ID.png?uid=[Contact.Email]" />
</a>
Step 2: Add the countdown timer to your Campaigner email
-
In Campaigner, create the email and pick a template, then continue to Edit HTML.
-
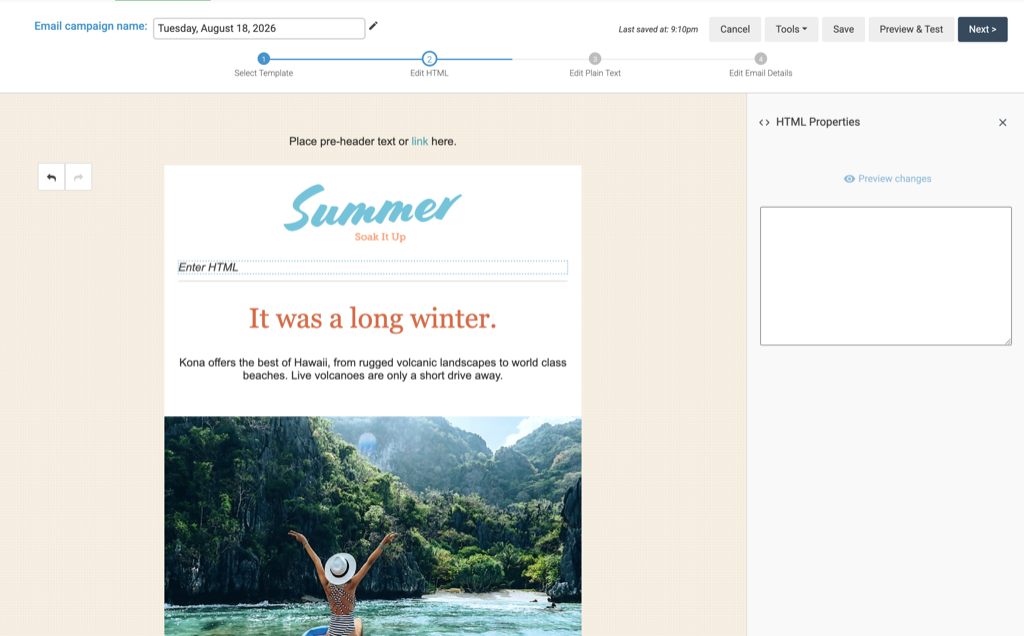
Add an HTML element to the layout where the countdown should sit. It shows an Enter HTML placeholder until you fill it.
-
Select the element. The HTML Properties panel opens on the right with an empty text area.
-
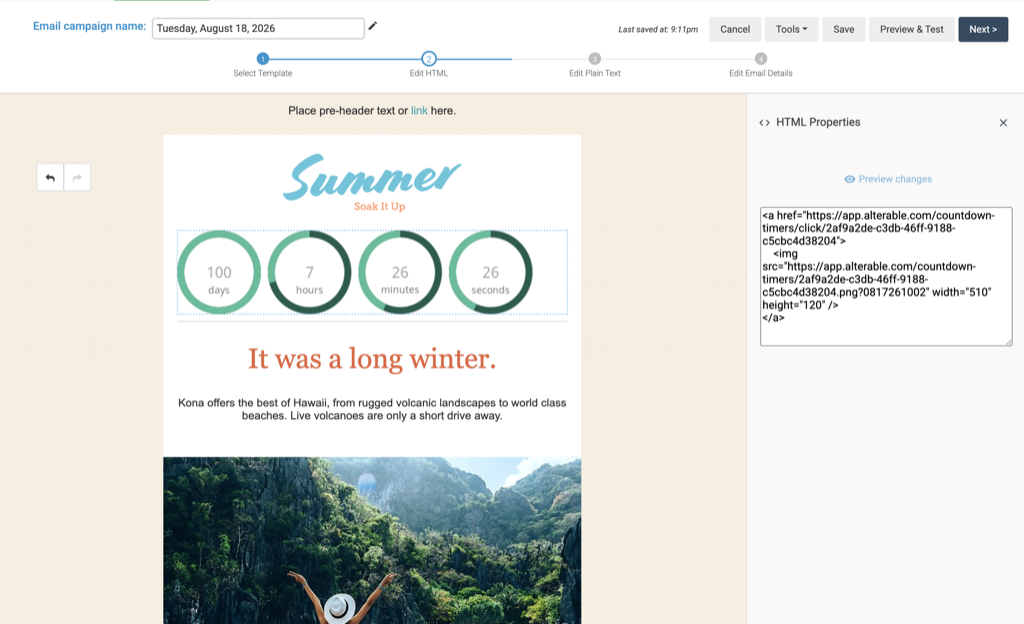
Paste the Alterable embed into the text area.
-
Click Preview changes. The countdown renders in the canvas with the real time remaining.
-
Continue to Edit Plain Text. The timer is an image and won’t appear here, so write the deadline out in words: “Offer ends Friday 3 October at 6pm CET” does the job.
-
Finish Edit Email Details, send yourself a test and open it in a real inbox.
Per-recipient deadlines with Campaigner merge fields
A standard timer needs nothing from Campaigner. The other two types take a merge field on the image URL, placed exactly where you’d put one to personalize a link.
An evergreen timer starts each recipient’s window when Campaigner sends them the email, and keeps it across opens. The image URL carries two Campaigner merge fields for that: [System.DateTime::yyyy-MM-dd HH:mm:ss], the send time, and [Contact.Email] in the uid parameter, which tells recipients apart:
<img src="https://next.alterable.com/countdown-timers/YOUR-TIMER-ID.png?d=[System.DateTime::yyyy-MM-dd HH:mm:ss]&uid=[Contact.Email]" />Choosing Campaigner under Email platform in Alterable’s embed dialog adds both for you. Campaigner doesn’t document a tag for its own subscriber ID, so this passes the email address, which puts it in the image URL. If you keep a subscriber ID of your own in a custom field, pass that instead.
A query parameter timer takes the deadline itself, as an ISO date such as 2026-10-01T18:00:00Z. Keep it in a text field on the contact, filled by whatever system knows the real expiry, and put that field’s merge tag in the date parameter:
<img src="https://next.alterable.com/countdown-timers/YOUR-TIMER-ID.png?date=OFFER-END-MERGE-FIELD" />date is the timer’s Parameter name in Alterable, which is the default. If you rename it, use your name in place of date. You don’t have to write the parameter by hand, either: for a timer like this the embed dialog has an End date box, and pasting the field’s merge tag there puts it in the code for you.
Replace the placeholders with Campaigner’s own merge syntax for those fields, the same tags you’d use in a subject line. Text in, text out avoids any date-formatting surprises.
Testing a Campaigner countdown timer
The canvas preview is the quickest check, and it shows the live image. For a timer with a merge field in the URL, the canvas has no contact to fill it with, so confirm it with a test send to yourself or a small test list, where the field resolves. A standard timer carries no field and renders correctly everywhere.
After the deadline, the timer holds at zero, or shows the text or image you chose as its expiry placeholder in Alterable. That lives on the timer rather than in the email, so every copy already delivered shows it on the next open, and the plain text version you wrote in step 6 still states the date for anyone reading without images.
Check it in a real inbox
Send a real test to your own address and open it. The timer should show the time left to your deadline, and a later open should show less. If the image comes through broken, check that every merge tag in its URL was filled in for that send.
Your weekend deal ends soon
Weekend deal ends in
Example: 2 days, 14 hours and 36 minutes left.