Adding a countdown timer to your MailChimp emails is a great way to create urgency, increase click-through rates, and drive more conversions. Whether you’re promoting a limited-time sale, an exclusive event, or a product launch, a well-placed timer can capture attention and encourage recipients to act fast.
In this guide, you’ll learn how to seamlessly integrate an Adjustable countdown timer into Mailchimp emails and discover best practices for maximizing impact.
Why Use a Countdown Timer in Mailchimp?
- Encourage Immediate Action: Time-sensitive offers push recipients to act before it’s too late.
- Enhance Email Engagement: Timers create a visual focal point, making emails more compelling.
- Increase Click-Through Rates (CTR): People are likelier to engage when they see a ticking clock.
- Boost Sales & Conversions: Urgency drives more purchases, whether a flash sale or a pre-order deadline.
- Improve Event Attendance: Use timers for webinars, product launches, or ticket sales to remind subscribers before it’s too late.
Let’s walk through adding an Alterable countdown timer in MailChimp.
Step 1: Generate Your Countdown Timer with Alterable
1. Go to the Alterable Countdown Timer Service.
2. Enter your countdown expiration date and time.
3. Click the “Create” button to create the countdown image.
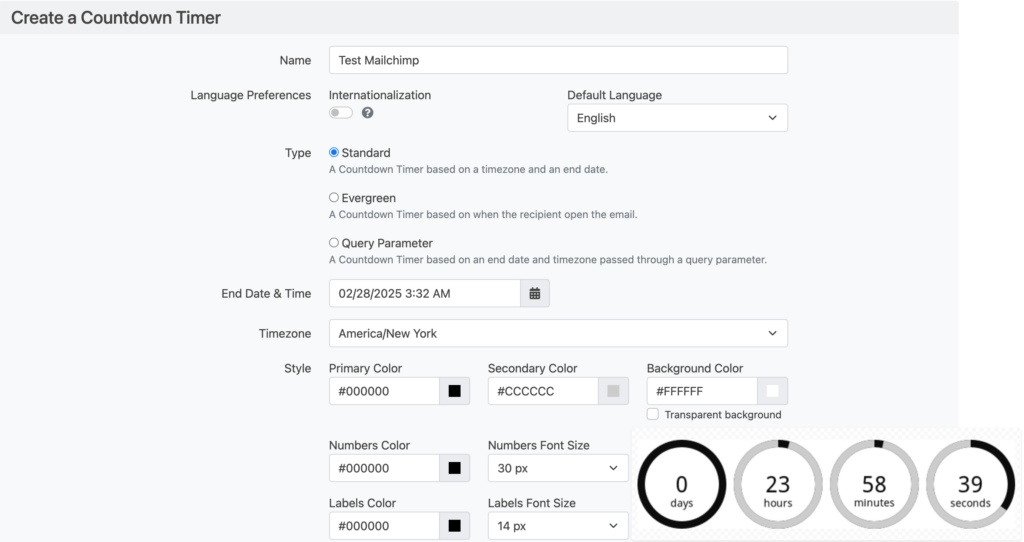
4. Copy the generated image HTML code—you’ll need it for the next step.

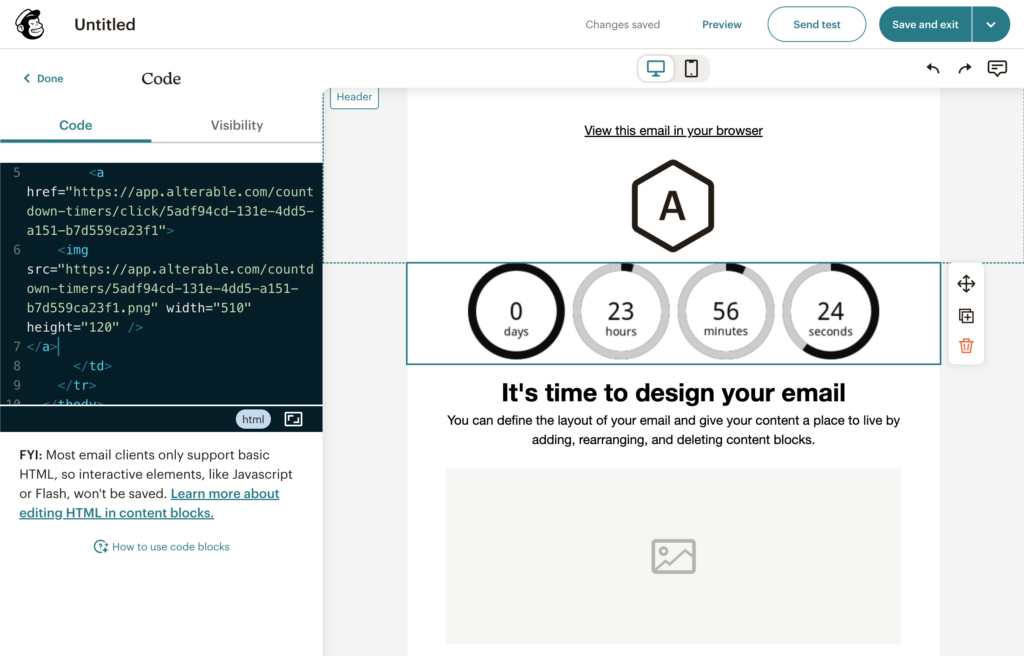
Step 2: Insert the Countdown Timer in Your Mailchimp Email
1. Open Mailchimp and navigate to the email editor.
2. Drag and drop a Code Block into your email.
4. Paste the Alterable Image HTML Code into the “Code” field of the HTML Block.
5. Resize the image if necessary for a better fit.
6. Preview & Test the email to ensure the countdown timer displays correctly.
💡 Pro Tip: Ensure the timer is placed prominently near your CTA (Call to Action) button for maximum impact!
Common Questions About Countdown Timers in Mailchimp
Will the countdown timer update in real time?
Yes! Alterable countdown timers update dynamically each time the email is opened, ensuring accuracy for recipients.
Can I customize the timer for each subscriber?
For dynamic timers that adjust per recipient, you need to use a countdown timer of type “query parameter”.
What happens when the timer reaches zero?
Once the countdown expires, it remains in the email as a static image. You can add a fallback message like: “This offer has expired, but stay tuned for more deals!”
Final Thoughts
Incorporating a countdown timer in your Mailchimp email campaigns is a proven way to drive urgency and improve conversions. Whether you’re promoting an exclusive sale, a last-minute registration, or a product launch, alterable countdown timers provide an easy-to-use solution that instantly enhances your email marketing strategy.