Adding a countdown timer to your Constant Contact email campaigns is a highly effective way to increase engagement, urgency, and conversions. Whether you’re promoting a flash sale, limited-time offer, exclusive event, or last-chance deal, a countdown clock grabs attention and compels recipients to take action before time runs out.
In this guide, we’ll walk you through how to embed an Alterable countdown timer in Constant Contact emails and share best practices to maximize results.
Why Use a Countdown Timer in Constant Contact?
- Creates Urgency – Encourages subscribers to take action immediately.
- Increases Click-Through Rates (CTR) – A dynamic visual element improves email engagement.
- Drives More Sales – Timed promotions convert better than static offers.
- Enhances Automated Emails – Perfect for abandoned cart reminders, event deadlines, and last-chance deals.
- Encourages Event Sign-Ups – Works well for webinars, ticket sales, and product launches.
Step 1: Create a Countdown Timer in Alterable
1. Log in to Alterable and navigate to the Countdown Timer tool.
2. Set the expiration date and time for the countdown.
3. Customize the design, including colors, fonts, and background to match your branding.
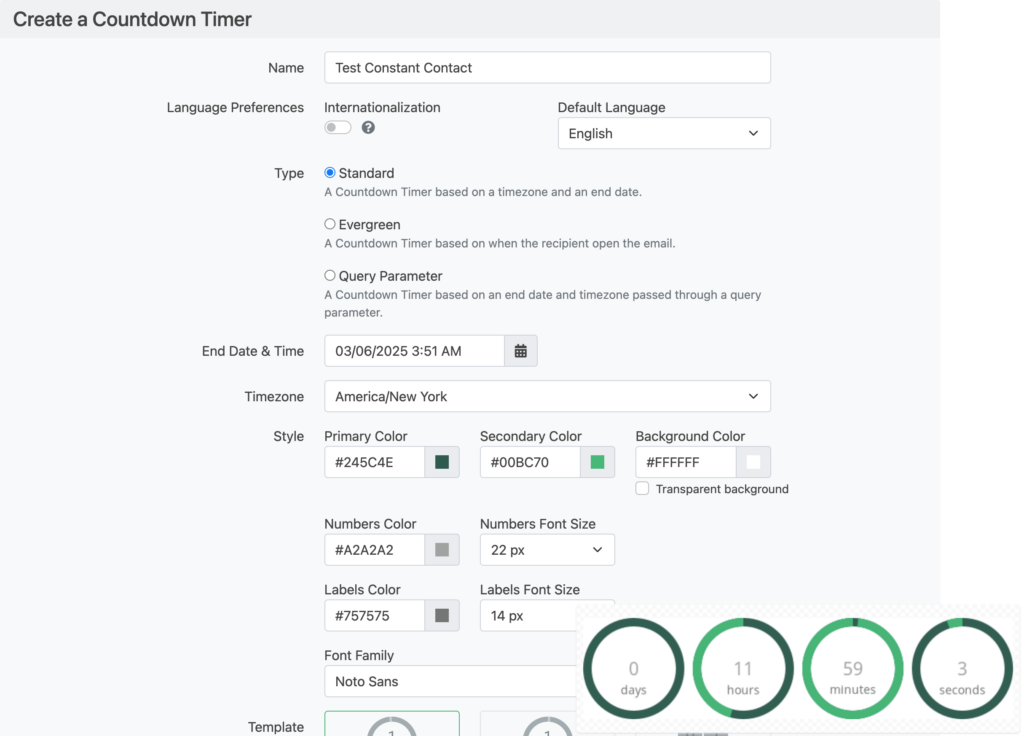
4. Click “Create” to create the countdown.

5. Copy the link URL and image URL—you’ll need this for Constant Contact (as of 3/5/2025 their new email editor doesn’t support HTML blocks, so we need to use an image block).
Step 2: Add the Countdown Timer to Your Constant Contact Email
1. Open Constant Contact and go to your email editor.
2. Drag an “Image” block into your email layout.
3. Click “Replace” and select the option to add an image URL.
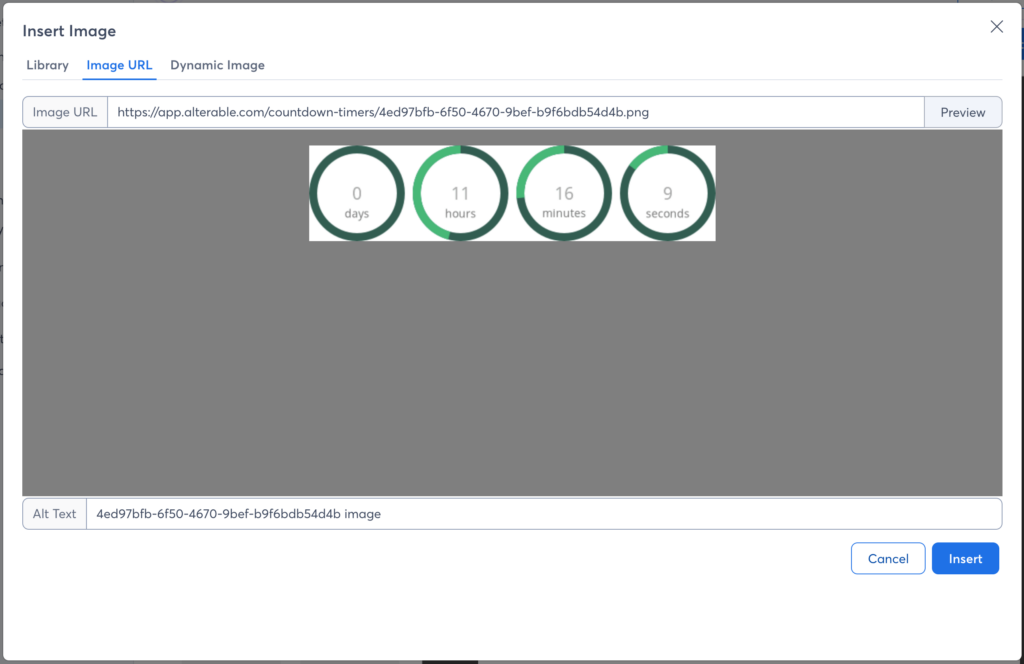
4. Paste the Alterable countdown timer image source URL (the src value in the <img> tag) into the Image URL field, click Preview, and when satisfied, click Insert.
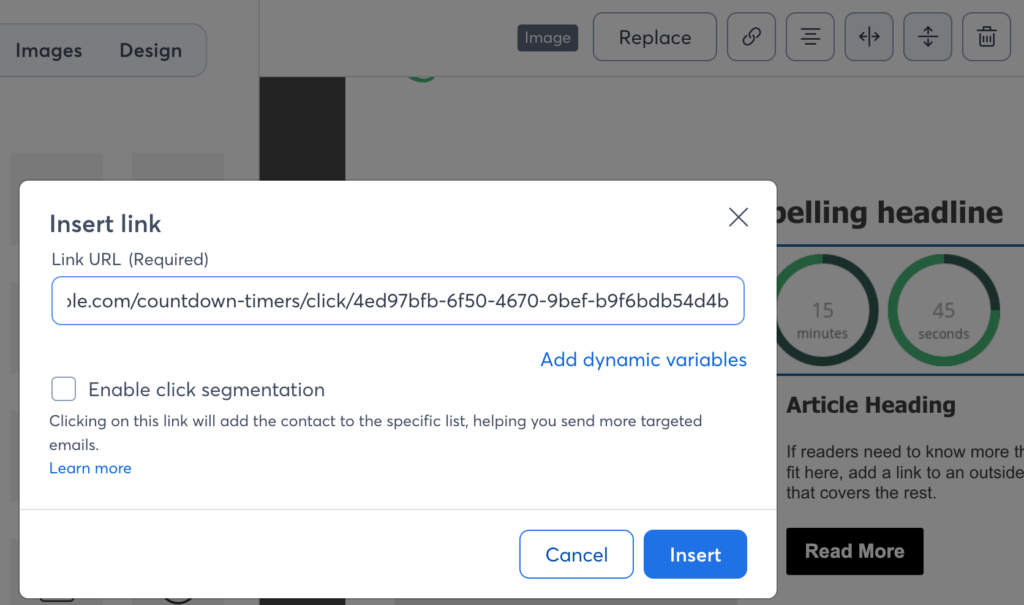
5. On the Image block, click the link 🔗 icon, and in the Insert link dialog, copy the countdown timer URL (the href value in the <a> tag) in the Link URL field and click Insert. You are all set!
6. Adjust the size and placement of the timer for optimal visibility.
7. Save and preview the email to ensure the countdown displays correctly.
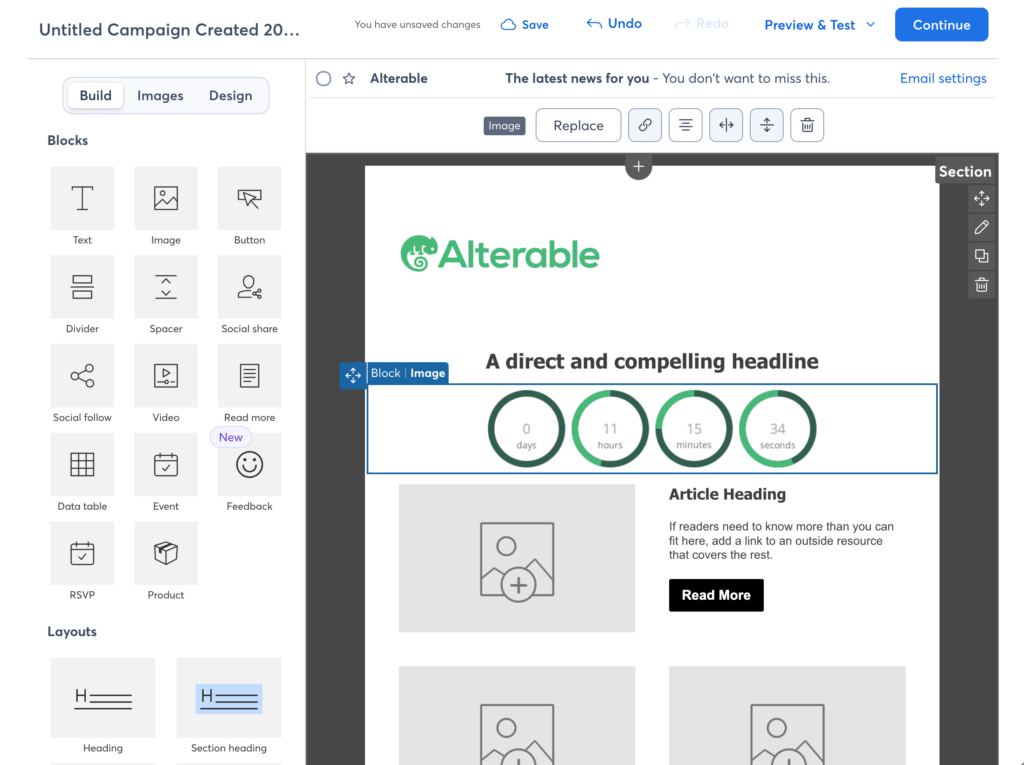
💡 Pro Tip: Position the countdown above the fold or near the CTA button for maximum impact!
Best Practices for Countdown Timers in Constant Contact
- Use for Limited-Time Offers – Countdowns work best for sales, early-bird deals, and time-sensitive promotions.
- Make It Highly Visible – Place it near key elements like the offer headline or CTA.
- Pair with a Strong Call-to-Action (CTA) – Use persuasive text like “Claim Your Deal Before Time Runs Out!”.
- Ensure Mobile Optimization – Check that all devices’ timer is fully responsive.
- A/B Test Placement & Design – Experiment with different placements and styles to maximize engagement.
Frequently Asked Questions About Countdown Timers in Constant Contact
Does the Alterable countdown timer update in real-time?
Yes! Alterable’s timers refresh dynamically each time the recipient opens the email, ensuring accurate countdowns.
Can I personalize countdown timers for each subscriber?
Yes! Alterable supports dynamic timers that adjust per recipient, making them ideal for personalized campaigns.
What happens when the countdown reaches zero?
Once the countdown ends, it remains in the email as a static image. Consider adding a follow-up message like: “This offer has expired, but stay tuned for more great deals!”.
Final Thoughts
Embedding Alterable countdown timers in Constant Contact emails is an easy yet powerful way to create urgency and improve conversions. Whether you’re running a sale, launching a new product, or promoting an event, countdown timers encourage subscribers to take action before it’s too late.